

Before we left the area to take our driving tour we stopped by Hercules Tanks to view their facility and meet Frank, the new owner. What an incredible plant. The fabrication facility is well laid, super clean out and Frank and Ryan both provided a wonderful dog and pony show of how the tank construction process results in a beautifully completed product.


Knowing that the construction of our new tanks was in excellent hands we determined that we could have a very relaxing two week trip around the area.
Measure Twice

By the end of the first week I had given Frank a call to arrange for payment. Frank asked if it was possible for Ryan to fit the port tank into Dazzler’s bilge to check measurements for the starboard tank. We were in Waihi, less than an hour away from Dazzler. We made plans to meet Ryan on Saturday morning with our partially completed port tank for a dry fit as well as a measurement recheck for the starboard tank. As it turns out, this was an excellent idea.
Ryan had brought with him the end cutouts for the starboard tank for fitting and measuring. The starboard tank end pieces were a bit wider than the space available. Bottom line, this task and dry fit saved us some time. If we had not done it we would have had a completed tank that would not fit into our bilge space which would have required a new tank to be manufactured. Measure as many times as you can before cutting. Then measure some more just to be sure.
Fast forward to about a week later… Our tanks were ready and delivered by Frank on Monday morning. The tanks dropped into place and fit like the proverbial glove. Now the detail work begins. I had to make some cuts on a 2×4 to make the side rails that would be fiberglassed to the hull to keep the tanks from having any side to side movement. The bottom of the forward edge of the tanks will be indexed in the bottom of the bilge against the aft compression post block.


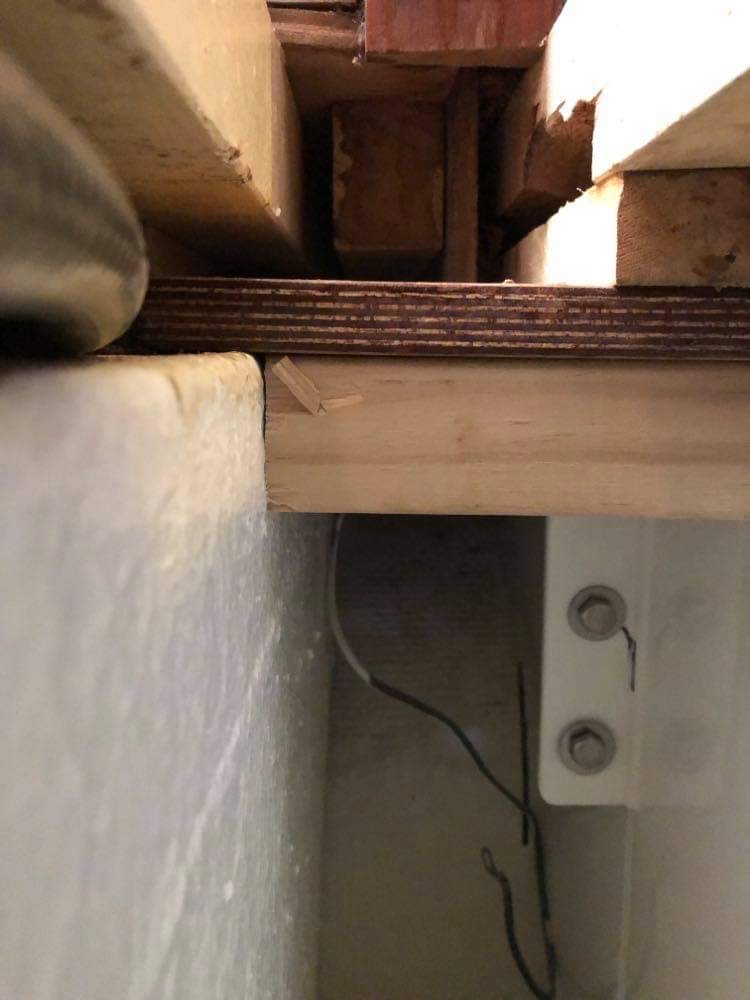
I did have to design and install blocks at the aft end of the tank to prevent a fore as well as aft movement while underway. I used a two inch block of starboard that I had in stores to fit at the bottom of the bilge. That fit tightly against the forward edge of the fuel tank and the aft edge of the water tank. I also used some wood blocks at the top of the tank to assist in preventing fore and aft movement.
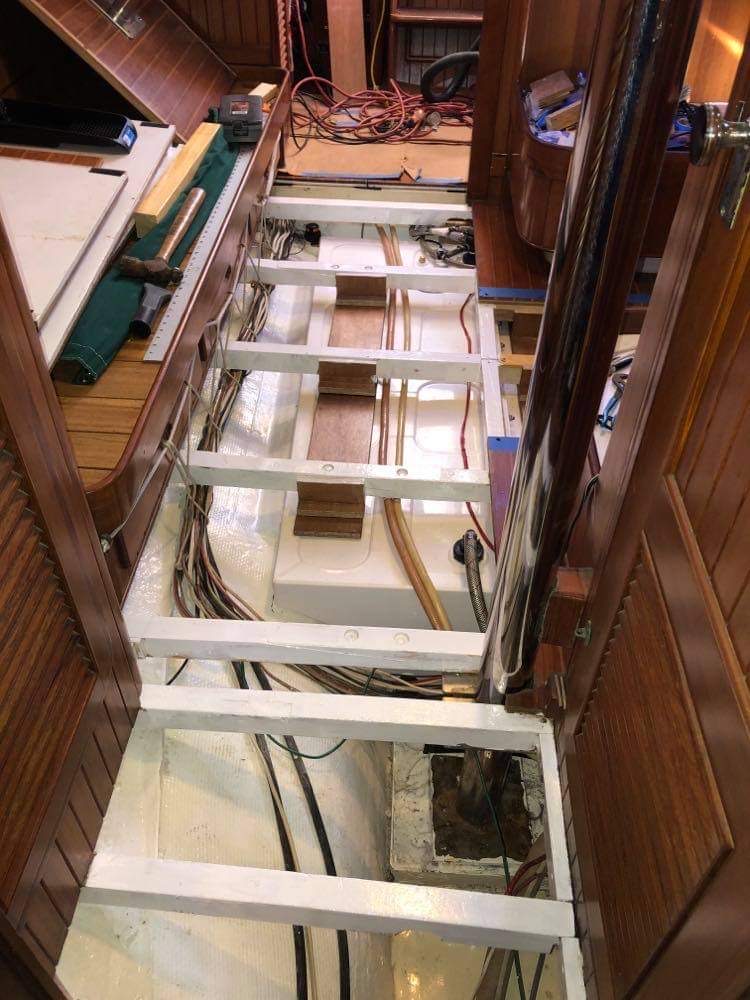
The next technical part was to install the wooden web of criss crossing wooden beams that integrated into the strings. This elaborate design was to support the saloon floor table base and prevent any movement of the table. Because of the way the table supporting pieces of timber locked into the stringers, I had to install the three main stringers at the same time. Being mindful to keep all the pieces indexed and locked into their respective positions. After several minutes everything was in place and ready for applying epoxy to the stringer scarf joints. I had dry fit all the stringers and supports to ensure no last minute surprises. One at a time the stringers were epoxied, bolted and clamped together.
Next, I had to attach all the hose connections. Vent hose, fill hose, pick up hoses, tank level sensor and crossover connection. This all was straight forward and I only experienced a few glitches that were easily overcome.
It was now time for the last tank securing system. I had obtained some ¾” marine plywood that I planned to rest on top of the tanks. I had applied four coats of penetrating epoxy to the plywood to provide more water resistance. I would measure, cut and attach short upright blocks of the plywood to press down on the top of the tank to help keep it indexed and help prevent it from bouncing up and down. Not that I think it will, but Mother Nature on the big waters has a way of pointing out any design and installation flaws in short order.


Last but not least. I applied a coat of white paint to the stringers and the fiberglassed side planks for a nice clean look. That’s it! Finished! It was a great undertaking that I’m glad to say is now behind us. The finished Hercules tanks side by side locked and cocooned into Dazzler’s bilge area waiting to be filled with that elixir of life from Ponce de Leon’s fountain of youth. Or the nearby tap.

Filling The Tanks For The First Time
We were provided estimated measurements from Hercules Tanks, but we still had to know what our true finished capacity was inside the tanks. I decided to fill the tanks by 20 liter (5 gallon) portable water tanks one at a time. That way we could correlate our water gauge with the actual number of liters or gallons we have in the tank. It took a while to complete but the results provided us with an accurate chart to gauge relationship. Very important when your tanks are not a rectangular shape. During the filling process I did give a quick look below the floorboards for any possible leaks from any of the hose connections. None were found. That’s always a good sign.
That’s it. Dazzler is sporting a pair of new freshwater tanks so the cruising can continue. Yahoo! Thanks to our new friends at Hercules Tanks for helping make this project a lot easier. Additional thanks to Dazzler’s best mate for Air B&B planning and having to deal with the total destruction and construction of the interior during the process. We are looking forward to the next adventure. Catch up with us next time in our favorite anchorage for a sundowner or swapping stories.
Cheers!
Captain Dan


Click Here to read Tanks A Lot Part I


One thought on “Tanks A Lot Part II”