

As a sailboater your rig and rigging is an important part of how you utilize the wind to slosh through the waves. First hand knowledge of your rigging is paramount.
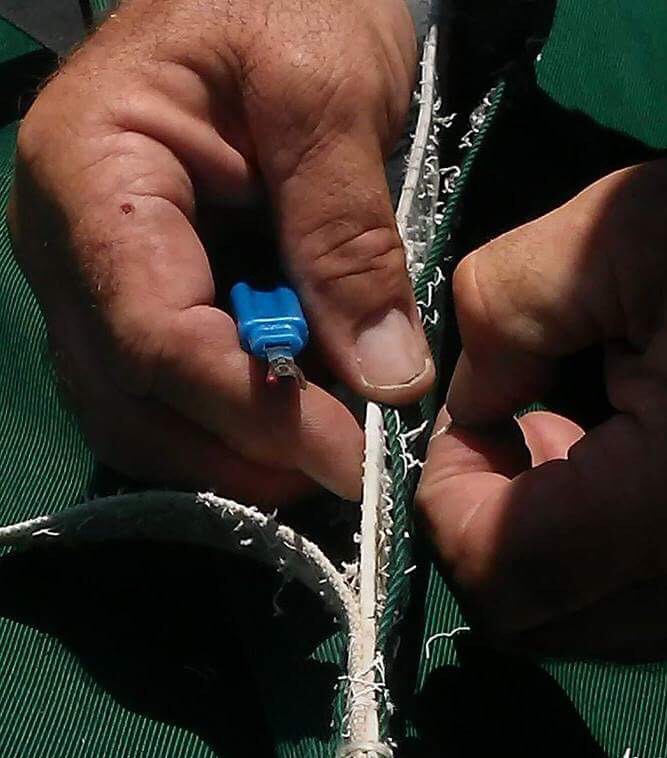
That being said, two weeks ago I was up the mast cleaning the standing rigging and inspecting all connections, shelves, spreaders, blocks and tackle and attachment points. I used white vinegar, a stainless brush and a terry cloth towel. The white vinegar removes the surface rust very easily and those stubborn areas yield to the stainless brush. Do not use other chemical cleaners to clean your standing rigging.
While up the mast enjoying the view and whistling away, I observed that the staysail’s #6 luff tape had some serious sun damage on one side. I picked up some #6 luff tape from the sail loft while I was in San Diego to replace the tape.
After getting the sail down on the deck and off the furling tube, I started carefully ripping out stitches and separating the UV cover, head webbing, and old luff tape. As you can see in the following photograph the luff tape unprotected from the furled sail had 9 years of cumulative sun damage. Nothing last for ever in Water World.

There are a couple different ways to effect this repair. I tried to keep it simple and stuck with the original design of the sail maker. I removed about six inches lower than the damaged area to make sure I got all of the deteriorated tape. I cut straight across the tape down to the edge of the sail material and then carefully used a razor blade to trim each leg of the tape. To check the Dacron tape for sun damage, use your finger nail to try to lift it up. If it tears easily there is sun damage. You are on borrowed time and you should consider a repair in the future.
Once the old tape was removed, I started to work on a splice to join the two pieces together so it will glide easily up and down the furling track. The sail loft suggested that I use a piece of sail tape to overlap each side of the two pieces. I decided to remove some stitching on the new luff tape back about two inches and removed the nylon rope and the plastic bead so the fabric of the new tape would overlap the rope and bead of the older tape. I used some ¼” seam stick on each side of the sail to hold the luff tape in place to while I used a zig zagstitch to secure it into place. I used a straight stitch to secure he splice are of the new and old tape with a row of zig zag down the middle.

The finished product! A Sailrite machine was used for the stitching. A razor blade and seam ripper used to remove old stitching. As well as some seam stick and new #6 luff tape. About two hours expended from start to finish. Repairs were performed on the foredeck atop the bottom of my inverted RIB which made a great platform for the work to be performed.
Hoisted the staysail, rolled it back onto the furling foil, put the equipment away and cracked a cold one.
Fair Winds!
Captain Dan
SV Dazzler
