You know how you go through life thinking all your ducks are in a row. Everything is working on all cylinders and your harmonic convergence has all of its feng shui maxed out. That’s when you’ve told God your plans and you can hear the laughter coming as the last words of your plans slip past your lips. Well, this has happened aboard Dazzler. Having been tied alongside a concrete float in the marina was starting to feel like a permanent fixture with some roots starting to replace the dock lines. Time to break the bondage, get off the dock and do what a boat was meant to do. Move through the water and explore.

So, that’s just what we did. Call it a trial run of sorts. We had a new mainsail resting atop the boom begging to be filled with the wind and harness its power of propulsion. Oh to feel the movement of the water beneath the keel and the gentle rocking during the evenings while at anchor watching the last rays of light filter upward through the clouds along the horizon. How could life be any better? Do you hear the laughter from God yet? Neither did we.
Two days on the hook at Urquharts Bay and we decide to weigh anchor and head out of the mouth of the river, hoist the mainsail and let her fly. Can you hear the laughter yet? Wait for it…. With everything secure below and on deck we geared up. Headsets, check. Engine on, check. Sail cover removed, check. Here we go! There I was on the bow using the 12 volt Lighthouse anchor windlass to retrieve the chain and anchor from its holding power on the sea floor. A few minutes into the process a small puff of smoke rose from below deck followed by the all stop of the 12 volt mechanical beast. “Well that can’t be a good thing.” There’s still more than 100 feet of 5/16” chain and the 66 pound Lewmar anchor yet to be hoisted. Where the hell is Grape Ape when you need him? I now have the task of hoisting the remaining chain and anchor by a hand over hand technique that should be duplicated in gyms across the world to provide a real world experience to your daily workout.
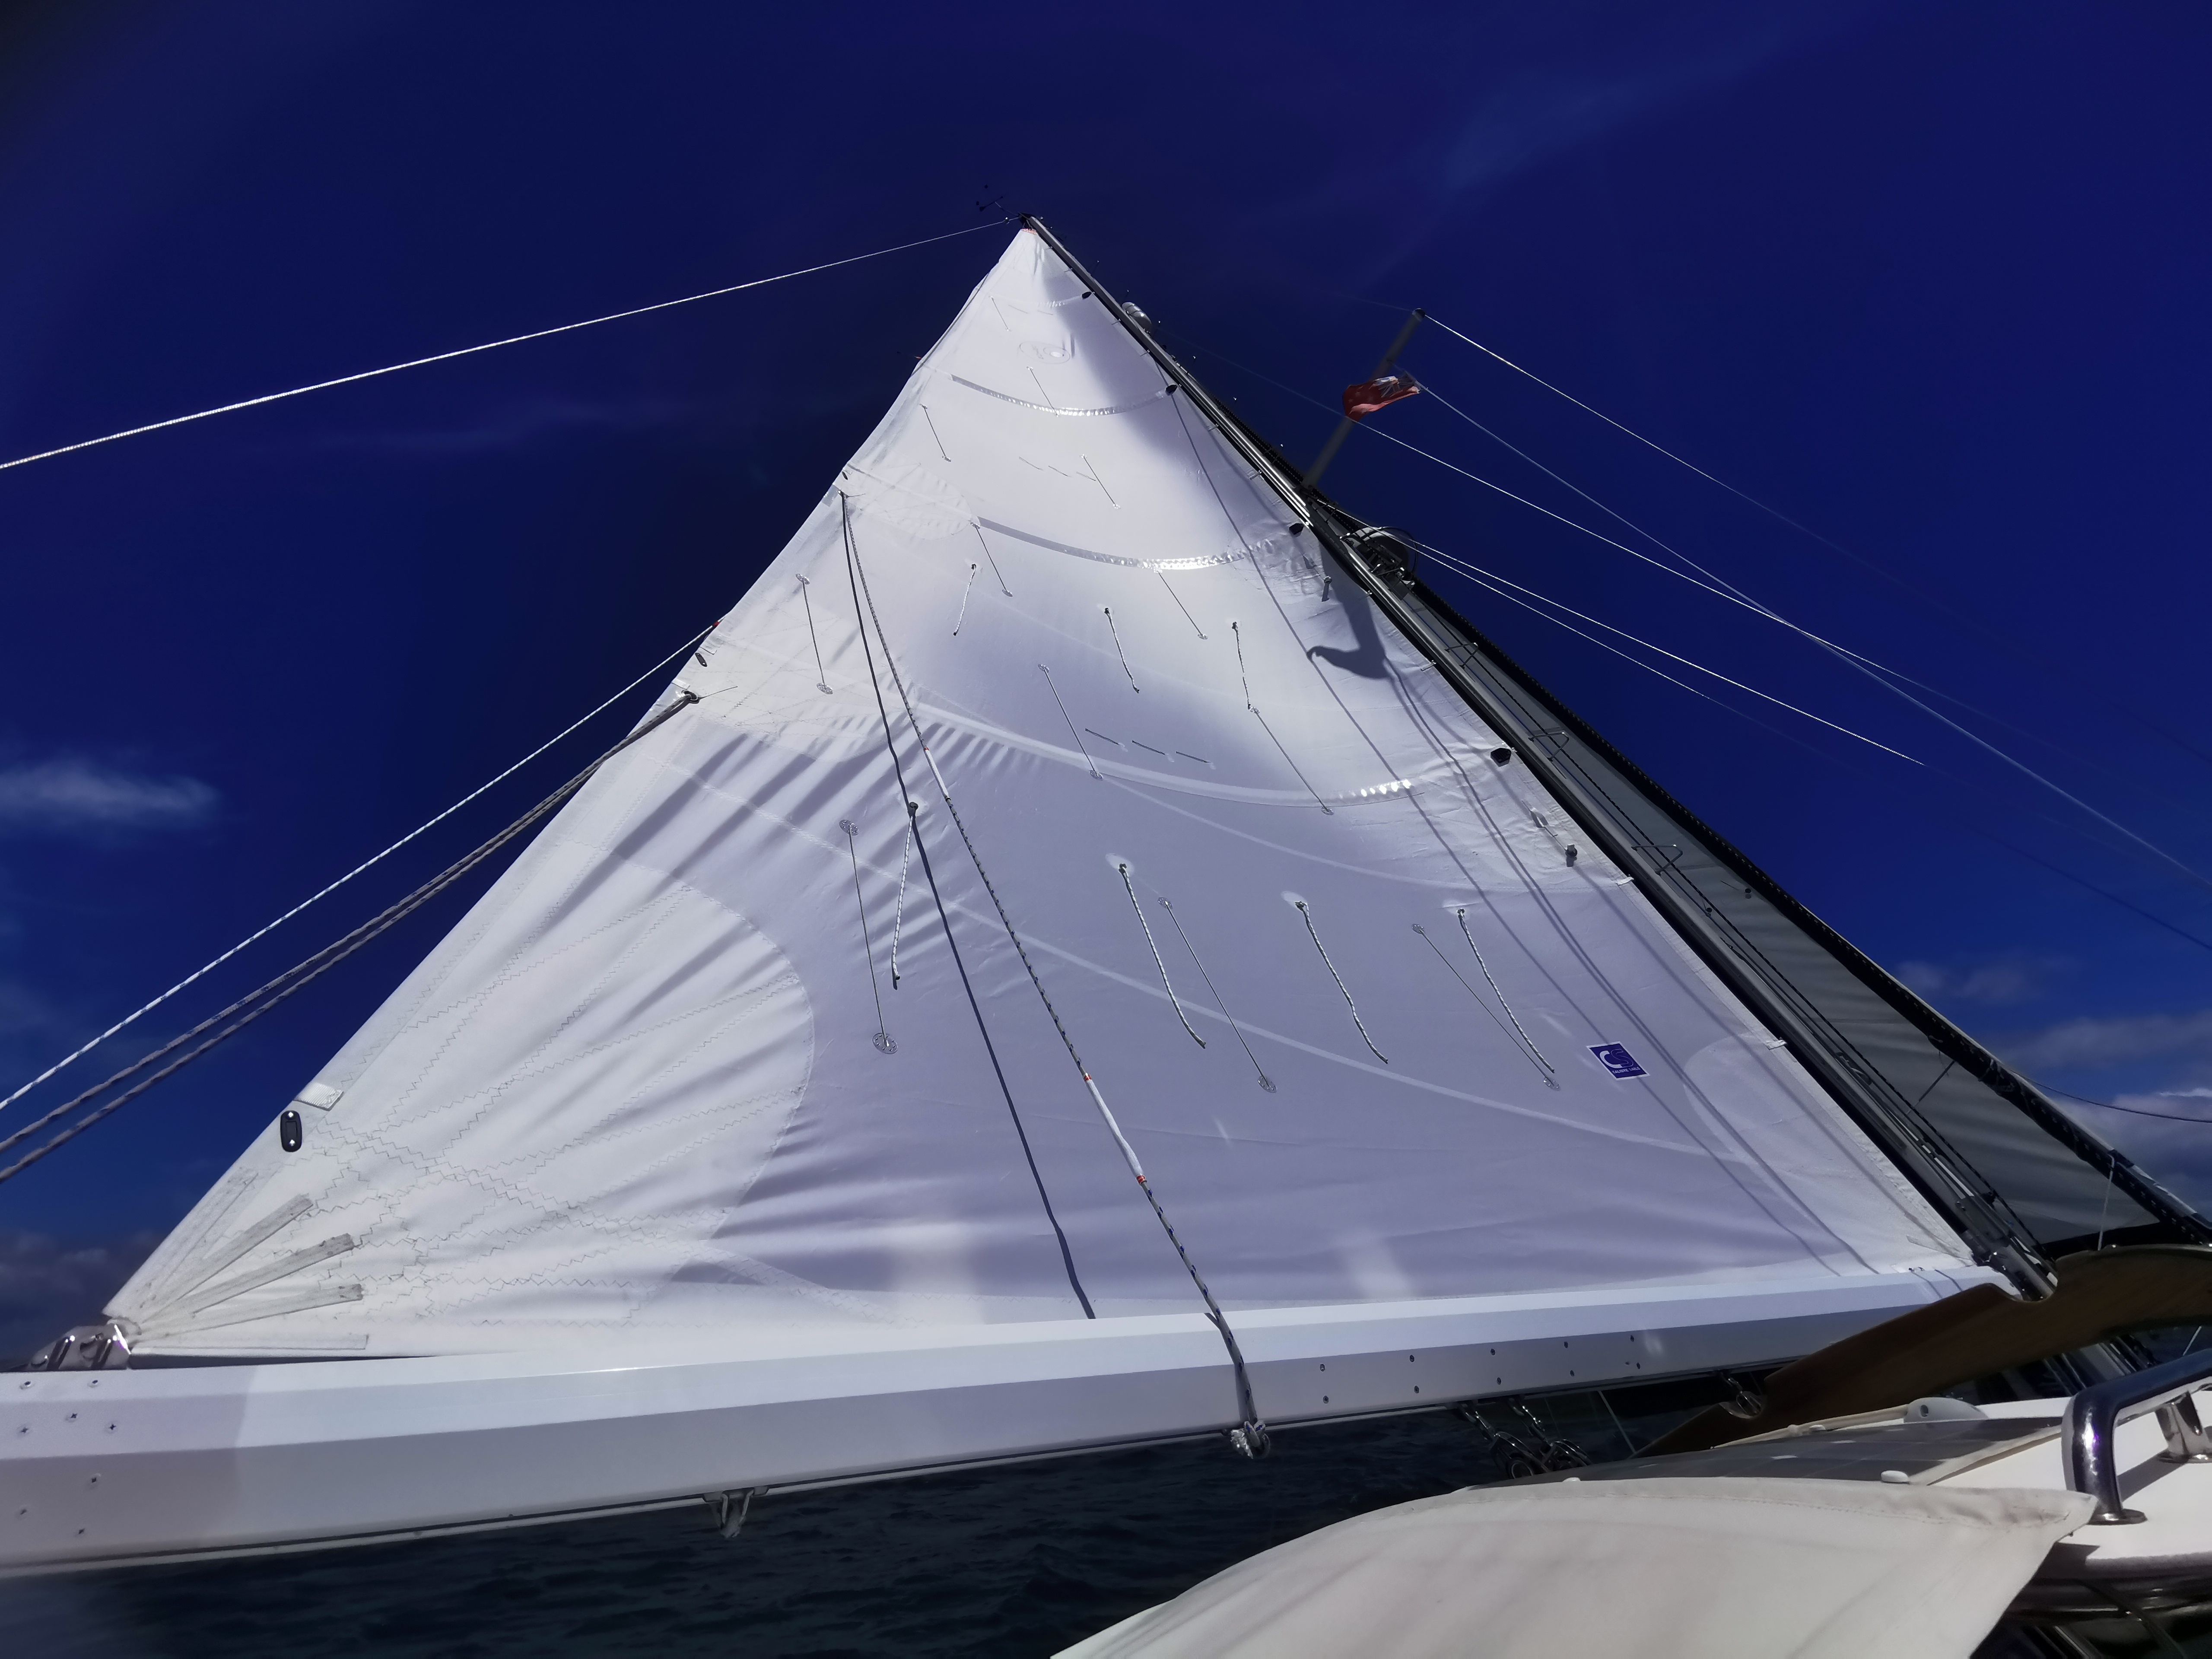
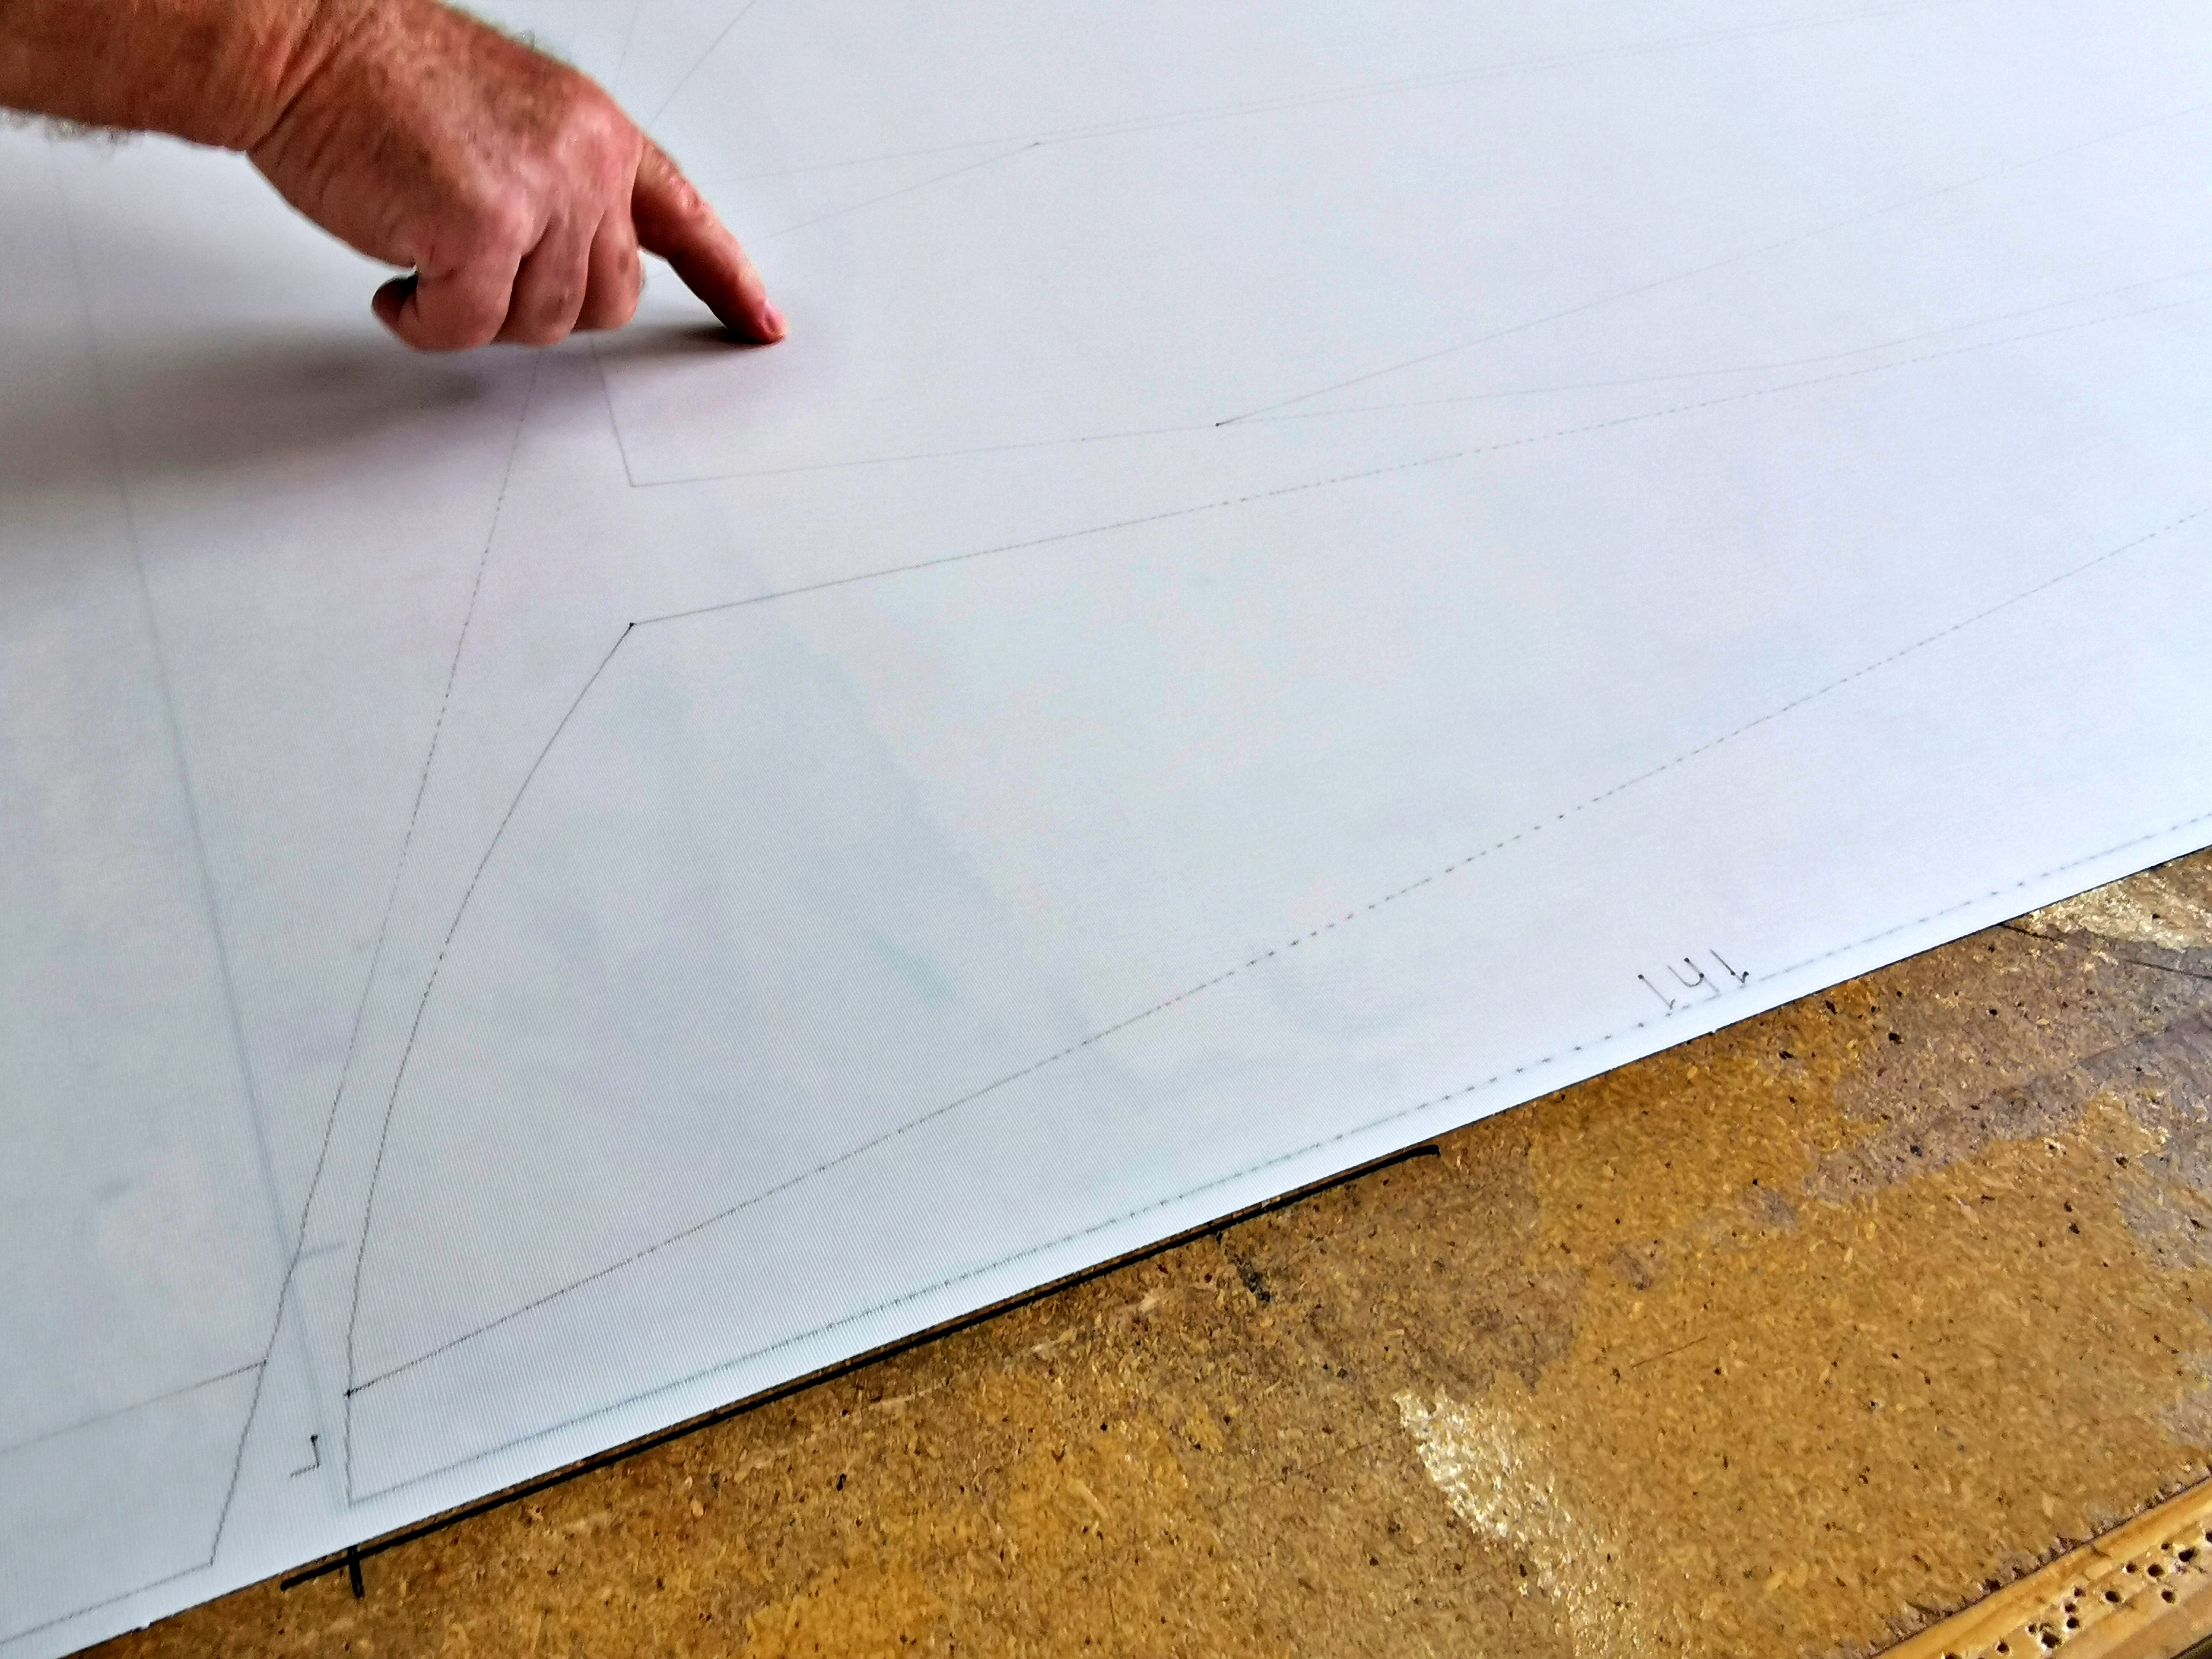
With the chain and anchor now secured onboard we set out to fly the sails to evaluate the new mainsail. Its performance was nothing short of outstanding. Its fit and its functionality was amazing. Thank you Dave at Calibre Sails in Whangarei. There is nothing like that first outing with your new wind engine. We wished we could have kept going. Alas the tide in the Whangarei River, the dock and the windlass issue was calling us back. By late afternoon we were tied safely to the dock and I hit the ground running after a brief internet search for some local supplies needed to affect our windlass repairs. Fortunately, back in 2009, before setting out away from Southern California I obtained a complete set of windlass seals and bearings to do an overhaul service of our windlass and only a few other parts would be needed. Some odds and ends electrical components were needed. Two days before Christmas isn’t the best time of year to search for components needed, but by noon on Christmas Eve I had everything I needed.
Saturday after Christmas the job began. What was I getting myself into? I first had to remove a couple hundred feet of chain and anchor rode from the anchor locker. Next was the removal of the 12 volt electric motor mounted below deck. Once removed the top of the motor had visible grease/oil residue which meant that the lower seal of the windlass gearbox above had been leaking. This meant that I would also have to disassemble the electric motor to clean all the oil from inside and hope that it would surge with life once the 12 volt power supply was added to the equation. While in the anchor locker I found that the two main 12 volt terminal posts and lugs had some surface corrosion. This was the first of several issues found that needed to be corrected. I had a new deck switch to replace the existing switch that I had to repair and make work in Fiji about a year and a half ago. While inspecting this switch and its connections, I discovered that the switch had given up the ghost and in fact needed replacing. By the way, this switch is a high load style switch that I had direct wired to the windlass motor over 7 years ago eliminating the solenoid. I know, I know. What an idiot.
I decided to install a new solenoid back into the system to remove the heavy 12 volt load through the foot switch and add a layer of added safety to the system. Now it is time to get to the real work. Pulling the windlass, tearing it apart and learning what I don’t know about the greasy innards.

Where do I begin. I do have all the instructions from the Lighthouse Windlass manufacturer to follow. I read through them a dozen times or so in attempt to somehow be blessed with some form of enlightenment. At this point I would have given anything to have had a work bench available to me. The windlass is machined out of a large block of stainless steel which is why it’s is SO heavy to muscle around while bending over on the dock. Carefully following the directions, I dissected the beast trying to memorize where each part lived as it was removed from the 3 pounds of grease that was inserted the last time it was serviced. Literally three pounds of grease had to be removed and cleaned from the gears and case. I think I went through a kilo of rags, two rolls of paper towels and a half a box of nitrile gloves during this process. Sure I could have done this on the hook in some exotic local but I’m glad I was on the dock and had access to the trash cans and supplies nearby.
I’d like to interject here. I like to think of myself as on top of a good maintenance schedule aboard Dazzler, but I have to admit that this job was something that kept being pushed down the To Do list as others might be guilty of as well. As I came upon projects like this I swore to myself that I wouldn’t let this happen again. I’ll be more diligent in the future by replacing seals here and there, cleaning electrical connections and the like to help prevent issues in the future. My intentions are well meant but reality gets in the way thus pushing certain items down that all powerful To Do list. Let’s face it I’m not a slave to the boat and there has to be some time for enjoyment, fishing, visiting with locals and sundowners. Right?
Back to the grease bucket. LOL After the windlass was all taken apart and cleaned, I set it aside to get into the anchor locker to do some maintenance and electrical work. I first cut off the old 2/0 cable lugs from the positive and negative cables and re-installed new cable lugs. The terminal posts were removed and cleaned as well. I replaced the foot switch and installed wiring to actuate the windlass solenoid. Over the last voyage from Fiji, we noticed there had been a leak emanating from the top of the anchor locker bulkhead that separated the Vee berth, so I added a thick bead of caulking along the upper edge of the bulkhead in the anchor locker to prevent any further leaks. I also replaced and re-bedded four large bolts that were the apparent source of the water intrusion into the anchor locker.
Next I decided to disassemble the 12 volt motor. My philosophy regarding things that don’t work is simple. If it doesn’t work before you tear it apart and then doesn’t work once you put it back together you haven’t lost anything but your time. But! If it does work again and provides many more years (or days, weeks or months) of service you have gained a level of confidence. The disassembly went well. After about a half a can of contact cleaner, brushing here and there and a pound of rags it looked clean enough to reassemble. Before I added silicone to the the end caps, I decided to give the motor a test. I hooked it up to a 12 volt power supply and bingo. The motor surged both forward and reverse with gusto. Wow! Onto the next part of the project.

Back to the windlass. I had three 465 gram tubes of grease to insert into the gear case as I started the task of putting it all back together. I only ran into a few glitches during the reassembly that required a trip to Donovan’s Engineering supply for some replacement bolts. I also had to order some replacement seals for future repairs. Hopefully they won’t be needed for many months from the completion of this service. The reassembly went smooth. Perhaps too smooth. It was now time to finish this project and reinstall the windlass onto the foredeck. Very straight forward install. I bolted it down onto its deck plate and then went below deck to crawl into the anchor locker to install the 12 volt motor. Check! I finished all the electrical connections in the anchor locker. The 250 amp fuse had blown during the windlass failure so it also needed to be replaced.
Drum roll please…Time to push the foot switch and feel the power as it roars back to life. Waiting, Waiting, Waiting. A few small adjustments below deck to correct my oversight during the electrical connections. Drum roll take two…Pushing the foot switch and the windlass lurched into operation. Tada! Wait a minute. It is running backwards. Okay. Back to the anchor locker to change the connections of the solenoid. Back to the windlass. It’s now turning in the right direction, but something isn’t right. Another setback by the mechanic, me that is. I somehow flipped the shaft and main gear 180° during reassembly. Apparently the one way rotation of the shaft slipped by my eagerness to reassemble the gearbox. Damn! This meant, removal of the motor and windlass, reopening the gearbox full of fresh grease, flipping the shaft 180°, reassemble, reinstall and reattaching the motor. Let me tell you this… With the precision of a racing pit crew, I had the windlass back in the cockpit being disassembled in less than an hour. Within the next two hours it was reinstalled on the foredeck with the motor below deck reattached and now working properly.

The only difficulty this shade tree mechanic experienced during the whole process was that the anchor locker seems to have shrunk some over the years. The last time I was in there I remember there being more room between the motor and my belly. I didn’t know fiberglass shrinks over time. Good bit of information to know. LOL
Until the next time from the shrunken anchor locker, may your wake be bountiful with fish, your soul free and your anchor windlass always rise to the occasion. Cheers!
Captain Dan