Oh joy! Continuing with pre-departure checks and inspections in anticipation of leaving the safety and convenience of marina life next week. We’re gonna go back to the wild! Yay! Today’s checklist included going up the mast to give all the bits and pieces of the rigging a bit of a scrub up and inspect for any visible damage or defects. This is one of those jobs that is sometimes like work. I actually had scheduled an insurance rigging survey for tomorrow. So I wanted to give it all a quick once over so there wouldn’t be any surprises.
I worked my way up the mast with my trusty Top Climber and settled in at the top to start cleaning with some white vinegar. As I started with the top of the forestay I saw what appeared to be some corrosion just below the swage fitting. I sprayed a little white vinegar onto the area and started in with the stainless steel wire brush. Humm! It didn’t come off at all. Closer inspection revealed two small cracks in two strands of the SS wire rope. The little voice in my head said, “Inspect, Repair or Replace? Which one should we do to avoid a disaster at sea?”


I immediately knew that our departure plans next week were going to be put on hold. Bummer! It always happens when you least expect it. That being said, I would rather discover the broken wires in port where I can safely control the repair than have to cut away the mast and rigging at sea because it broke while underway.
I cannot express enough the value of carefully inspecting your equipment before undertaking an offshore passage like circumnavigating North Island New Zealand or crossing oceans. That means the standing and running rigging, engine and its necessary components, electronics, firmware updates, loose objects secured and hatches secured before setting out for adventure.

Finding a defective section of wire rope is disappointing, however experiencing an unexpected emergency while well offshore could have catastrophic consequences. We all have heard or read about those fateful offshore sailing stories of boats loosing their mast, rigs or even lives being lost during a catastrophic event. Acting with due diligence, pre-trip inspections will edge you closer to being better prepared then being surprised.
Some things can be avoided with proper planning. And then there are those things that are out of our control. Acts of God, poor metal qualities, freak incidents like visiting UFOs or even biologicals like whales. There is even the possibility of encountering one of the thousands of shipping containers whether partially submerged or full on floating on the surface. Either way preparation is a key element prior to heading away from the anchorage or off the dock.
We vacillated for only a few seconds on whether to replace just the forestay or bite the bullet and replace all standing rigging. It really wasn’t a hard decision. Remembering the old adage of an ounce of prevention is worth a pound of cure came to mind. I replaced all of Dazzler’s rigging in 2009 while preparing for her initial departure from Southern California. She has served very well during those years and all the miles under her keel. Yes it was time to give the old wires a retirement and replace with new full strength rigging in its place.
I called our rigger, Matthew Smith over at C Spar Ltd and let him know I needed to cancel our survey appointment because of the discovered damaged. Additionally, I explained that I would be replacing our rigging and that I’d be in shortly with our lower shrouds.
It Begins
I first removed the four turn buckles from the lower shrouds. Next it was back up the mast to pull them out of the spreader bases. Jilly was on deck to grab them and secured them on the deck until I could get back down. Down the mast and off to the rigging shop to drop them off for replacement.

The next day I detuned our rig a bit more and removed the headsail and staysail from the roller furling tubes so they could be stored out of the way during this whole process. I’m guessing it will take us about three weeks to complete the change over to new rigging. But for now we’re just waiting for the first set of shrouds to be complete and reinstalled.
I would like to interject here that I had been contemplating the possibility of changing over to synthetic rigging like Dyneema or Amsteel. One of the largest issues here is obtaining the necessary end fittings to make the transition. Yes all are available but most would have to be ordered internationally and shipped to us. The wild card in this equation is time. How long will it take to get the right supplies in hand to complete the job? Our New Zealand visa time clock is clicking away a week at a time. Before we know it, it will be late April and time to start looking for a weather window for departure.
There are many tradeoffs, pros and cons to consider before making this conversion. We decided to stay with the traditional stainless steel rigging as we know its performance, track record and reliability. Besides Dazzler is a blue water cruiser not an America’s Cup competitor looking for the smallest lightest equipment that works in a competition. No, we are content moving along at a whopping 4-6 knots an hour, smelling the coffee, eating the freshly made morsels of ambrosia from the galley wench and enjoying the world slowly passing by. So for now, we will continue with our course of action to stay with the shiny stuff.
I will say that our Dyneema lifelines have held up exceptionally well over the last four years. There are very little signs of deterioration and minimal fraying if any. They do what they are intended to do. The texture and feel took a while to get used to in the beginning from the texture of the stainless steel lifelines, but overall it was a nice upgrade.
Hey! Get Back To Work. OKAY!
You get off topic a little and the Best Mate thinks I’m sluffing off. The first four pieces of rigging were now ready. I picked them up and easily installed them on Dazzler. Next I had to remove the staysail and one of the intermediate shrouds. I only had to replace one intermediate shroud. I won’t go into detail but I had replaced the port side last year due to my own stupidity.
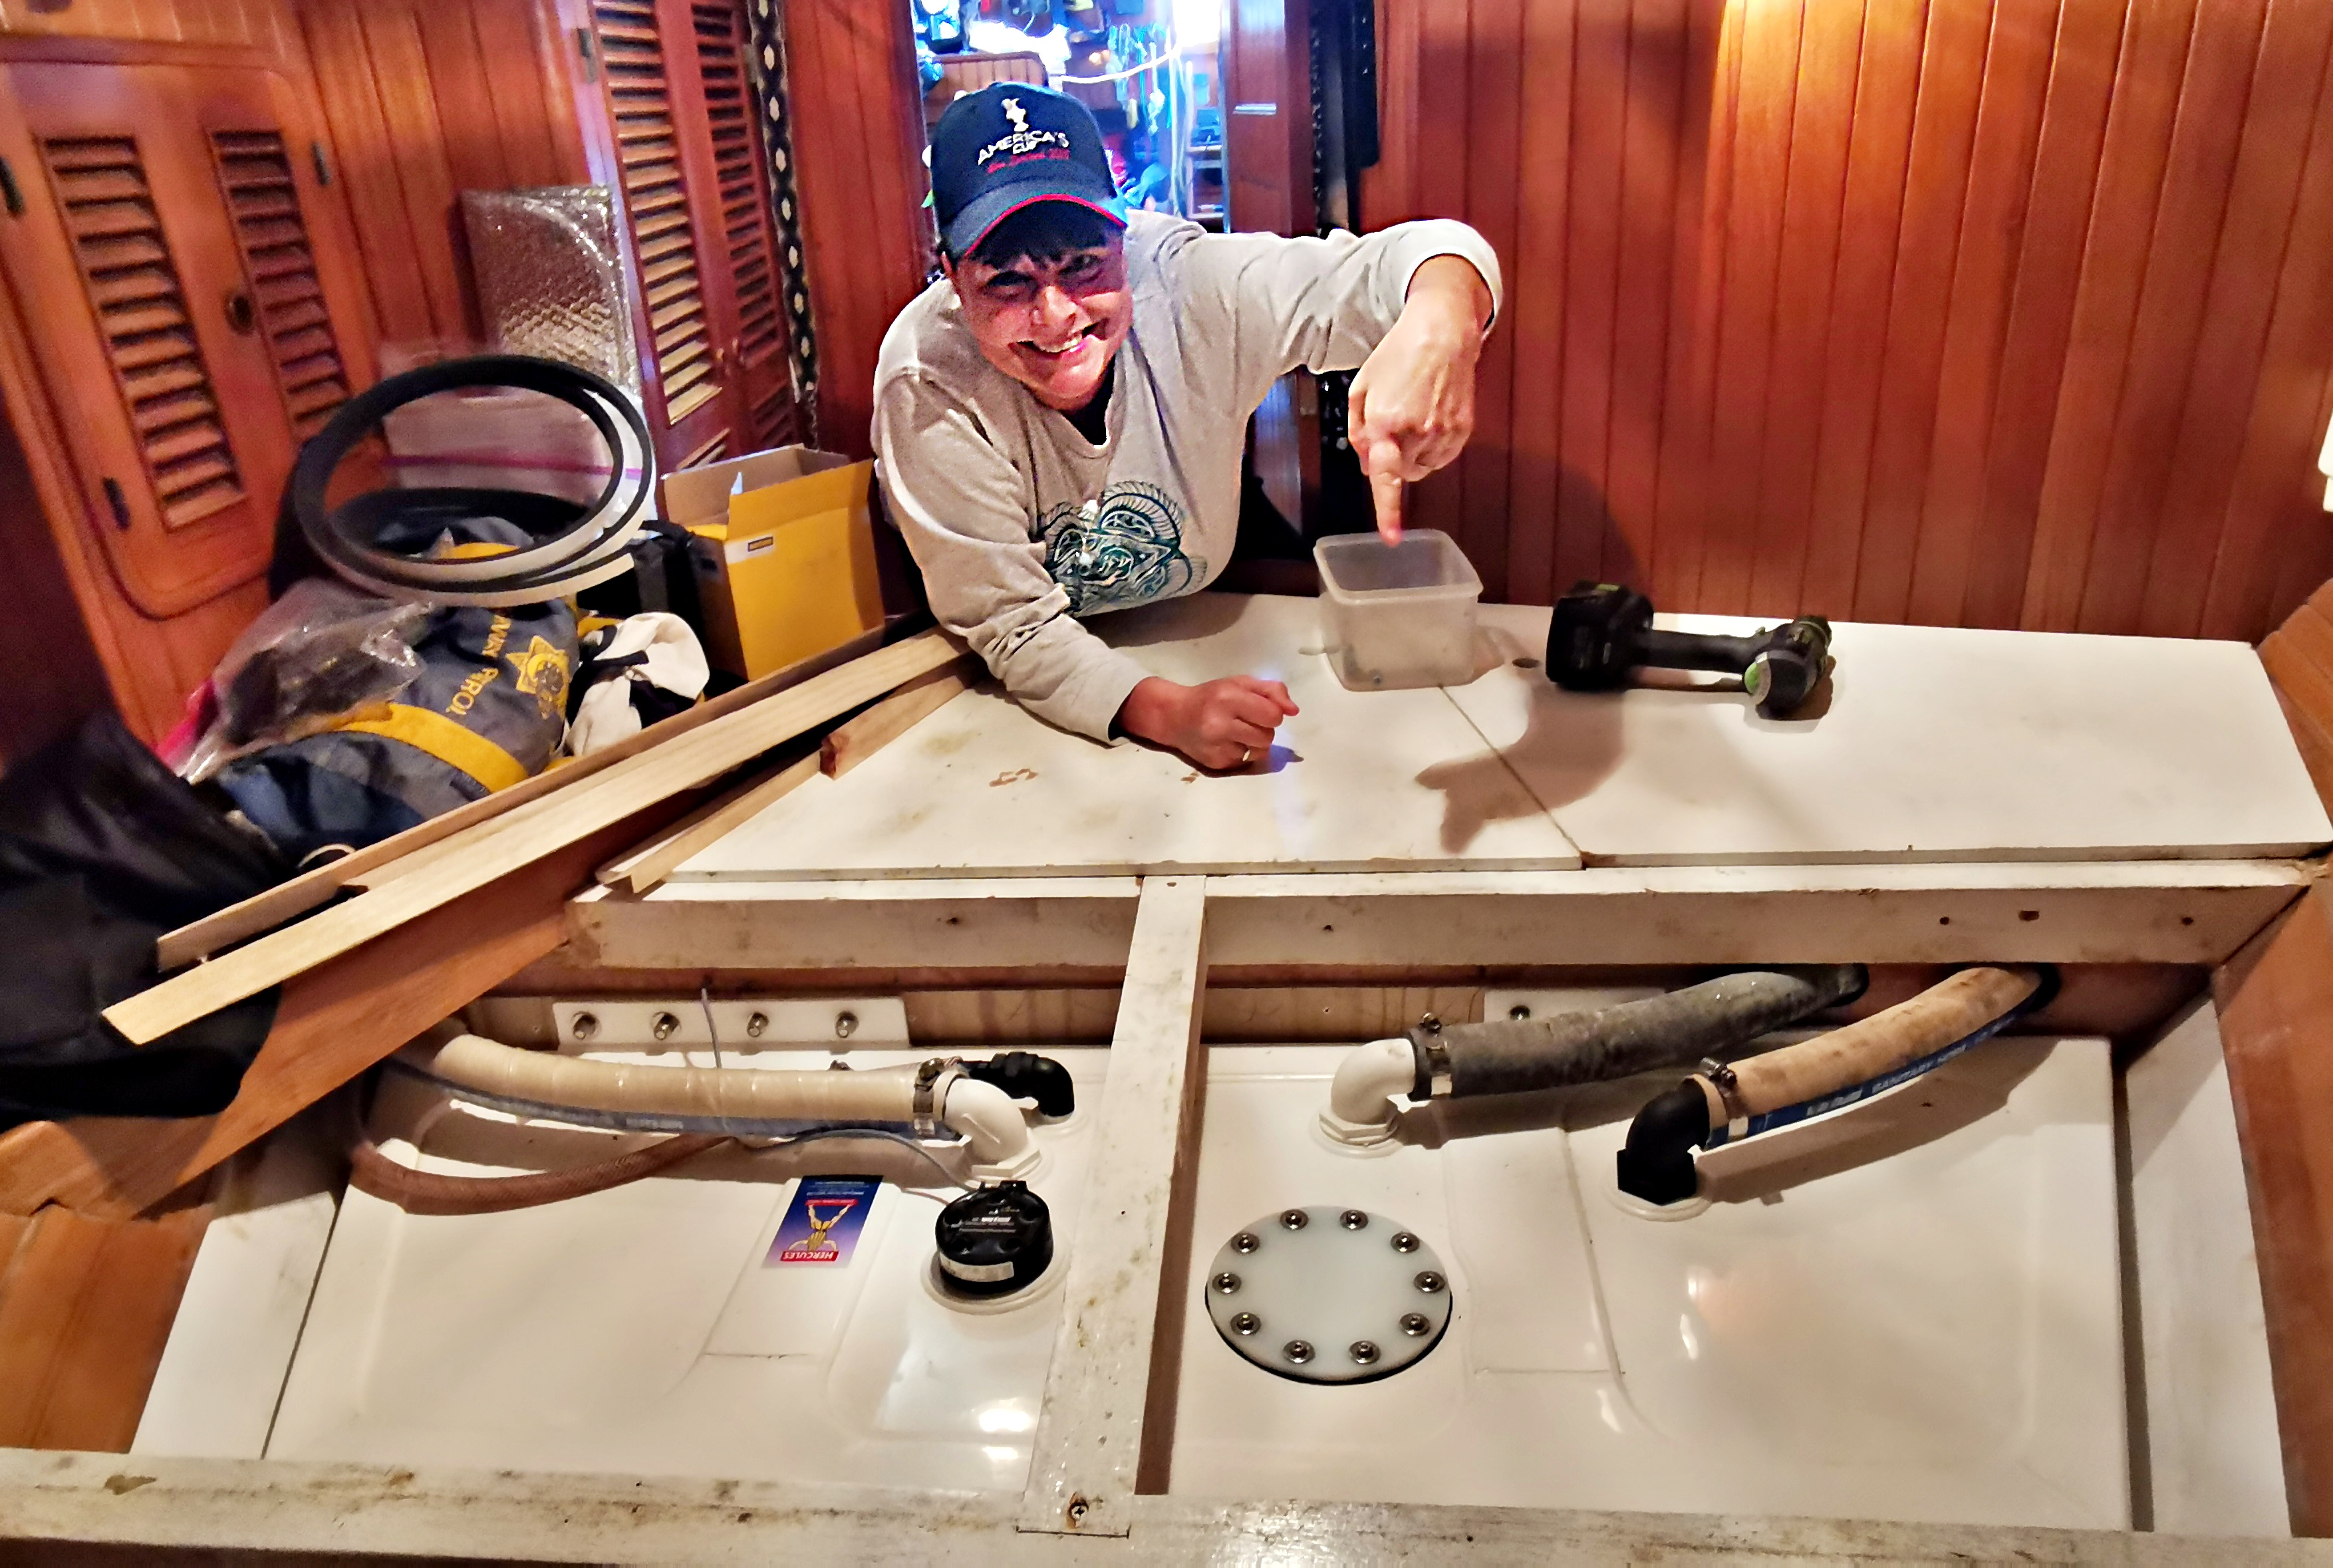
I also removed the two whisker stays. The 12 year old ProFurl roller furling system has five aluminum tubes that are held together with aluminum bearing holders that encase two half bearings made from what looks like DuPont Delrin ( Polyoxymethylene POM) that insulate the stainless wire rope from the aluminum bits and pieces. The bearing holders are held in place inside the aluminum tubes with two recessed hex grub or set screws on each end.
Tube Truth
I’m sure you are wondering why I went into detail about these tubes. Well I’ll tell you Shoutie. It was these grub/set screws that presented the biggest pain in the backside. These little babies had been installed in 2009 without having been removed since then. In order to remove the stainless steel wire rope from the aluminum tubes these small screws had to be removed first. Penetrating oil, heat, drill bits and screw extractors were used to remove these little stinkers from their holes. I guess these tubes weren’t going to just fall apart anytime underway.

Needless to say, the process of disassembly of the tubes took a lot more time than anticipated. Which, brings to mind one of my favorite sayings, “Every boat project is a broken bolt away from a three day event.” This part of the project should have been completed in about 20-30 minutes. It was finally done about three and a half hours later. Eight screws had to be painstakingly extracted with several different tools including a drill. When it was all done, three broken drill bits, a few metal shards and sweat were strewn about the dock surface.
I tried to use the smallest bit possible as to not bugger up the threads tapped in the aluminum tubes. The grub/set screws were 4mm in size and when properly installed were below the surface of the aluminum tubes to allow the headsail upper bearing to easily slide up and down the assembled tubes. Luckily I had a small supply of replacement grub/set screws onboard for replacement. After finally being able to remove the stainless steel wire stay, I ferried them over to the C Spar for replacement.
One of my immediate concerns was how bad is the headstay going to be as it has two more sections of aluminum tubing. That will have to wait its turn. Next up on the rigging repair was cleaning up the threads of the staysails roller tubes for reassembly. I had to obtain a 4mm tap to assist in cleaning up the threads. Using a smaller drill bit helped keep the threads in the aluminum tubes from getting too damaged.
The threads all cleaned up nicely. I did obtain some ¼” grub screws just in case I needed to increase the size a bit. But, in the end they weren’t needed. Being in a first world country has supply advantages. As does possessing a good supply of spares and a decent arsenal of tools to make repairs along the way.
Moving Along
The staysail, whisker stays and intermediate shrouds were now complete and reinstalled on Dazzler. Next up for replacement were both of the upper shrouds. So up the mast I go. This time all the way to the top. Dazzler has two parallel folding steps about four feet from the top of the mast. This allows the rigger to stand easily while working on the masthead. I use a tether to tie around the mast and my waist to free up both hands while working.
I first had to remove the masthead plate. The shrouds both have stemball fittings on the top end of the wire which means the shroud must be pulled through the top of the masthead to remove it. The starboard side slid right out. Once it was removed I lowered it down to the crew down below. The crew consisted of Best Mate Jilly and our neighbor, Tony, of SV Omarsea.
The stemball fitting on the top of the port shroud had other ideas than being removed. Apparently, little things like dissimilar metals decided to join the party. It would appear that the aluminum material of the mast and the stainless steel fitting had created a little electrolysis corrosion during their time together making an easy removal more difficult. Memory power engaged.
I decided to ask Tony to grab a wrench and start applying a twist in the wire rope. I also used a pair of pliers in one hand applying additional twist to the shroud while tapping the top of the stemball fitting. The tapping was more like pounding. Needless to say the stemball finally relented and broke free of the electrolysis bond with the aluminum and the shroud was easily removed. When I reinstall the new shroud I’ll coat the upper fitting with some Tefgel to prevent any future corrosion. And now off to the rig shop for replacement.
Other Projects Along the Way
While at the mast head I applied some McLube spray to the sheeves in the masthead sheeve boxes. I discovered that two of the sheeves in the forward box were frozen and didn’t move. This explained a lot as one of them had the jib halyard running over it. The last time we had hoisted the jib it was very difficult to pull up. Now the little light has gone on. Add another project to this job before completion. It will have to be done tomorrow while waiting for the shrouds to return.
I first decided that I’d replace the jib halyard with a spare halyard we had onboard. The old halyard was Dacron 1/2” double braid and may have been about a millimeter too thick and with a splice, even thicker still. Perhaps the extra width may have caused the sheeve to spread open and wedge against the sides of the sheeve box. Unknown, but for now I was going to use smaller diameter line in one of the unused working sheeves.
Before heading up the mast for this job, I tied a messenger line to the tail of the existing halyard. Once at the masthead, I pulled the existing halyard out of the sheeve box until the messenger line was present. I then moved the messenger line over to the unused working sheeve and attached the replacement halyard to it. Jilly pulled the messenger line down until the tail of the halyard was present and made it fast to a cleat. Next?
Once the upper shrouds were ready they were easily put back into place with a simple trip up the mast. Now it was time to prepare to head back up the mast to remove the fore and aft stays. But first we had to detach the foot of the forestay/jib roller furling from the bowsprit. The back stay was also detached at its foot. With those done and secured it was time for another trip up the mast. Once aloft, I attached a halyard to the top upper end of the backstay, removed the Clevis pin and lowered it down to the deck crew.
I used a Prusik knot to secure a lifting halyard to the roller furling tube to lift and lower the rig once its clevis pin was removed. Through a coordinated effort the lowering of the roller furling tube and forestay worked flawlessly. Once on the dock, it was easily disassembled. In fact, it was much easier than the staysail disassembly. Nice! Off to the rigging shop with the insulated back stay, forestay and the bobstay.
Good News?
A few days later, I received a call from Matthew advising that a defective crown ring would need to be replaced on one of the swageless fittings of one backstay insulator. In 2009, during the last rigging replacement, I installed two Hi-Mod backstay insulators with swageless fittings. They are also known as Petersen insulators. The internet is an invaluable tool for finding what you need once you wade through a mile or two of bullshit.

With shipping prices excessively high from the US to New Zealand, I found a company in the UK, Jimmy Green Marine. An incredible rigging supplier with everything one could want including replacement crown rings for my insulators. Four new crown rings including shipping to New Zealand was about $125.00 USD. From one company in the US, the same purchase with shipping was going to be about $400.00 USD. Suffice it to say I went with Jimmy Green Marine and I had my replacement bits in about 10 days. My last FedEx priority shipment of an envelope was about three weeks. A considerable difference of time and money. (Note: When getting things shipped to New Zealand…Do NOT use Federal Express! DHL seems to be the best & most cost effective.)

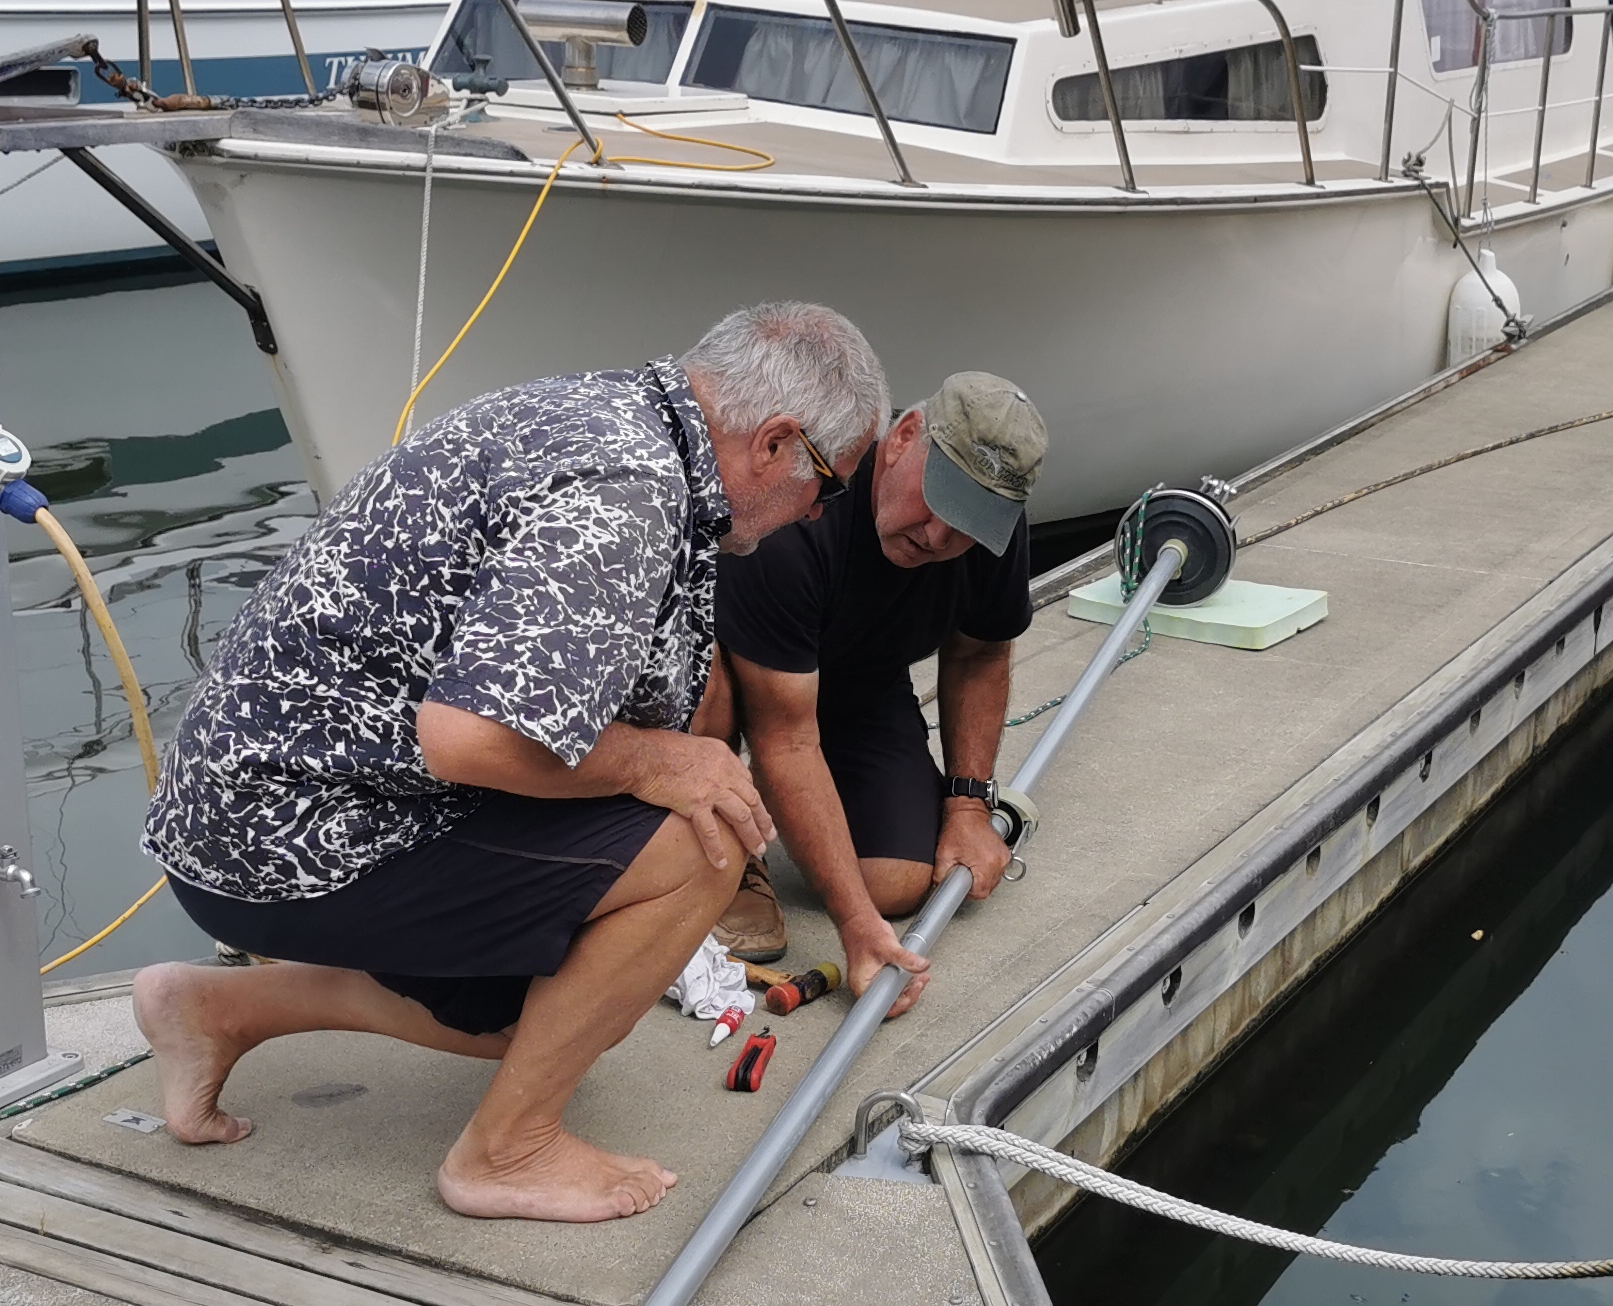
Everything was now all back together. Time to break out the band and tune it all up. With my trusty Loos gauge, I set to tuning the rig. A little twist here and there with a little time invested and it was all set. It was now time to pin the turnbuckles. A good friend turned me onto a very cool way to pin your turnbuckles. Instead of split pins or rings he used stainless steel welding rod. It bends easily and secures the upper and lower studs together at the same time. Just bend the tail pieces and you’re done. A very simple and easy way to secure your rig tuning. There will still need to be a dynamic check of the rig tuning, but that will have to wait for another day.
That’s it sports fans. Up and down the mast a couple of dozen times for exercise. There was some boat yoga at the masthead. No injuries and a few extra maintenance issues added in to keep it all real. I think it’s Steinlager time.
Until the next adventure or project, make all your dreams boat dreams. Cheers!
Captain Dan