

Boat owners know that their vessel’s time in the water is clicking down to the time when their vessel’s bottom needs an update to the antifouling paint. Well, this last summer was Dazzler’s turn in the slings. I had done some research and had spoken with other cruisers that had spoken highly of a Boatyard facility in Puerto Peñasco. After making an appointment with Salvador Cabrales, III, at the Astilleros Cabrales SA Boatyard, all that was left to do on my part was get Dazzler to the Ways. The Ways is the space in front of the yard where the slings of the boatlift are lowered into the water after your boat is in the Ways. In the case of the Cabrales yard, they had lowered the straps into the water and had me maneuver Dazzler over the top of the slings. While the line handlers on the each side of the dock next to Dazzler had a secure hold of the lines the lift cinched up the slings to the keel of Dazzler and started to hoist her out of the water. After a few strap adjustments, Dazzler was hoisted clear of the water and being transported into the lot across the street from the main yard where she was placed on secured jack stands and railroad ties under her keel.
That afternoon, the workers power washed Dazzler’s hull in preparation for sanding. Several months prior to arriving in Puerto Peñasco, I had observed several osmotic fiberglass blisters near the water line of Dazzler while cleaning the bottom. While she was on the stands it made it possible to get a closer look at the blisters and decide which course of repair I would perform or have performed. With the yard manager, Salvador, we inspected the blisters along the water line. After much discussion, Salvador provided me with an option that I was unfamiliar with. His yard has paint plainer equipment that will strip paint and thin layers of fiberglass from the hull.

This allows the deeper layers of fiberglass to dry in the arid desert of northern Mexico while on the hard. It also stripped away thin layers of the damaged fiberglass and made it easier to fair out the hull. After the paint had been removed, Salvador used a moisture meter to verify the moisture content of the fiberglass. While a few areas were in excess of 10, many were below 10 after the paint and fiberglass had been exposed to the dry heat. The second day all the readings were well below 10, in the low single digits. This was our green light for starting the repair of the exposed waterline. It was decided that the fiberglass would first be coated with West Systems epoxy, The next several layers would be West Systems epoxy with hard micro beads to build back the shallow depression created by the paint/fiberglass removal process. Once the level had been gradually built up, five coats of barrier coat primer were applied to the repaired area. It was feathered into the adjacent areas and it was challenging to find any uneven areas of the repair. I was impressed. The workers then began applying the Zspar bottom paint I had brought down with me from the states last fall. Prior to using the paint, we took it to a local paint store to have it shaken for about 10 minutes to mix up the cupreous oxide prior to having it applied to the bottom of Dazzler. The local paint store we used didn’t charge us anything so I found a few supplies from their shelves to show my appreciation for shaking up our paint.
The second day in the yard, I was busy myself with two projects below the waterline. I wanted to replace the plastic Depth, Speed, Temp, (DST) transducer thru hull with a new one. I also wanted to replace the Shaft seal/packing gland with a new one.
The transducer thru hull was the easier of the two jobs. I first removed the transducer and then drove a tapered wooden plug into the thru hull opening from the outside. I then cut off the excess wooden plug flush with the flange of the thru hull and used a hole saw to cut out the old thru hull fitting. This worked like a champ. I then preparing the hole by coating the inside with a thin layer of epoxy and waited for it to set up. After the epoxy was setup, I bedded the new transducer thru hull with Sikaflex tightened up the interior thru hull nut and it was done.
The shaft packing replacement was another story. It was obvious that the flange attached to the shaft had to first be unbolted from the flange at the rear of the transmission. Then you have to remove the shaft flange from the prop shaft. This little job took about two hours and a couple pounds of expletives and sweat. Ultimately, I had to use a spark plug socket placed on the shaft between the two flanges. I used the mechanical advantage of two bolts connecting both flanges to each other to pulling the shaft flange towards the transmission flange. Because there wasn’t enough clearance between the transmission flange and the rear case of the transmission, I had to take the bolts off often and add more washers to the bolts. After doing this several times and dropping tools and washers into the abyss called the bilge, the shaft flange was removed. This was a tedious job, but well worth the effort. The old shaft packing and hose was removed and the new shaft packing and hose were installed. The shaft flange and shaft were cleaned up, greased and re-installed and bolted back to the transmission flange. I forgot to mention that all this job had to be done from the lazarette while lying on my stomach and reaching down to the shaft area. Boats! What we do because we love them!
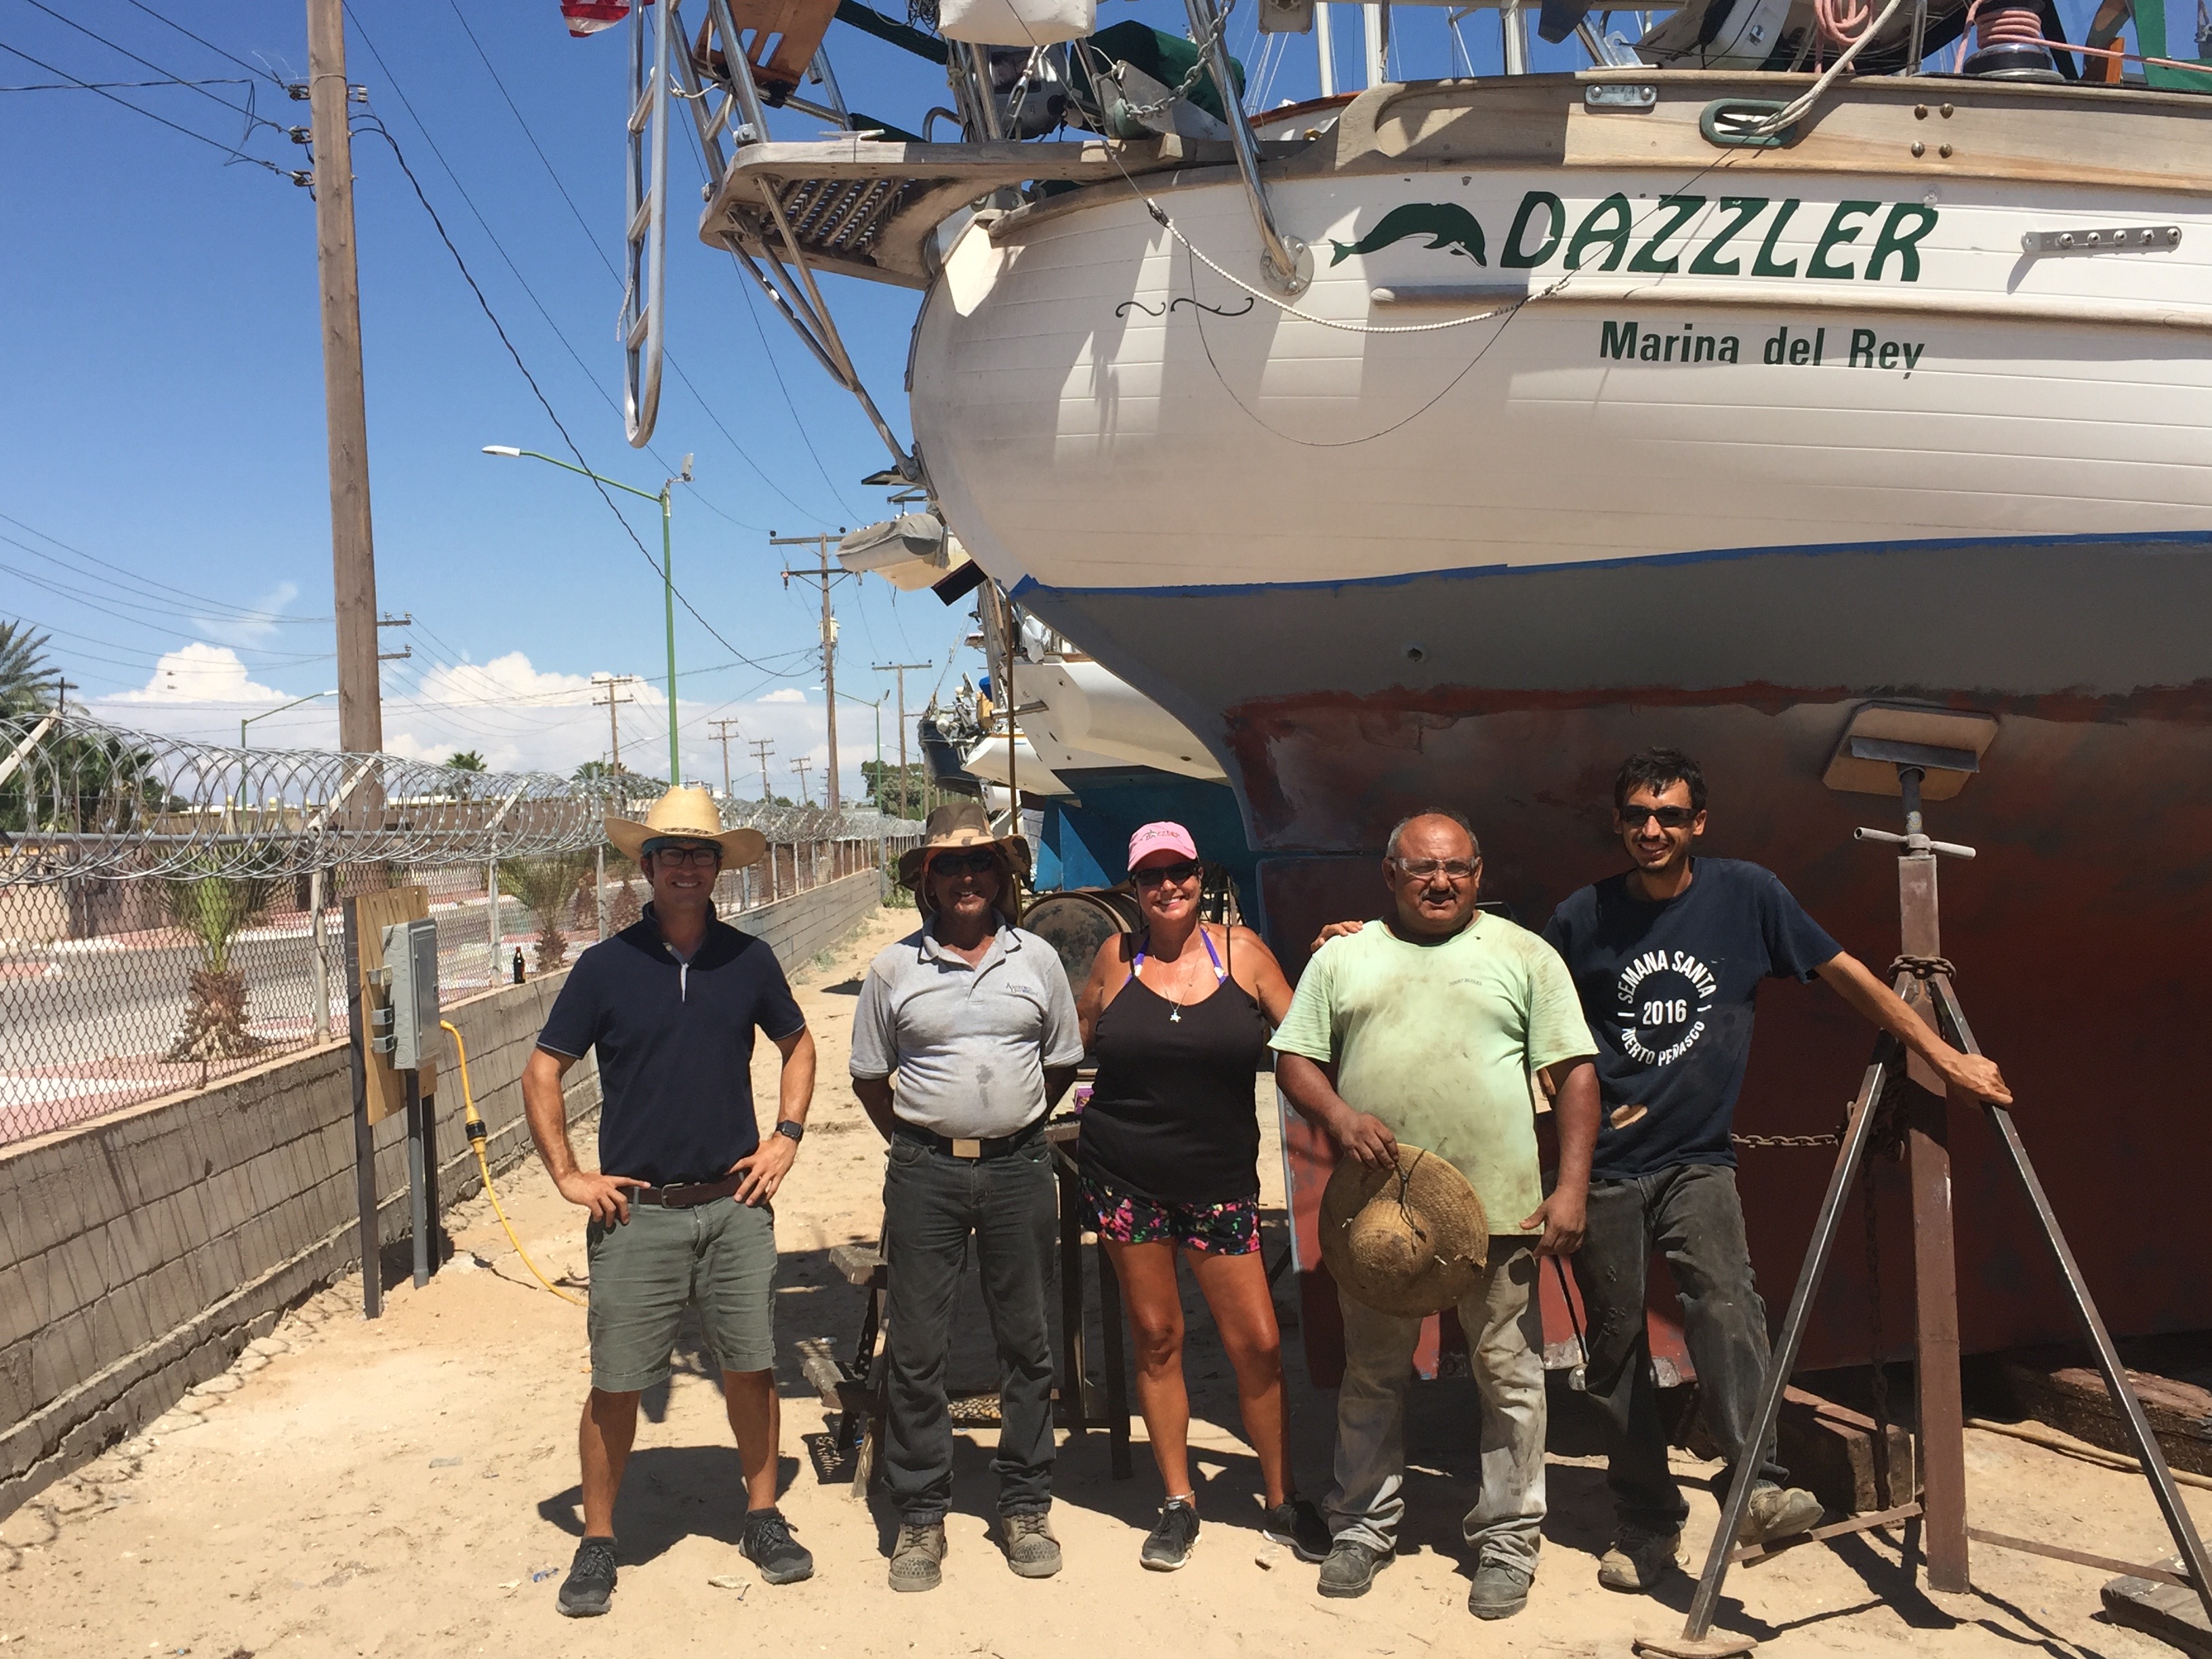
As the worker were finishing up with the waterline repairs, Jilly and I had picked up a few kilos of Carne para Asada and prepared a BBQ for the workers at the yard next to Dazzler. We completed our appreciation for their hard work with grilled Carna Asada, onions, peppers, tortillas, salsa and icy cold Coca Cola. Smiles abounded!

The workers were finishing up with the bottom paint and Dazzler was prepared for launch. She looked great! Timing of the launch must be coordinated with the tides of the area. Puerto Peñasco has extreme tides that can exceed 20 feet and therefore knowing when high tide occurs is important. The morning of the launch, there was no water in the bottom of the Ways. Only mud!
By late morning the tide had filled the ways and we were ready for launching. Dock lines and line handlers were in place and we were being lowered into the Ways. I asked Salvador if the slings could remain in place while I check the transducer and shaft packing glands for any unexpected water leaks. After I gave the all clear Dazzler was lowered into the sea, released from the slings and we were backing out of the Ways. We motored to the Fonatur Marina in Puerto Peñasco to give Dazzler a good cleaning after being in the dusty yard. The next day we were southbound toward Refugio at Angel de La Guarda.
My compliments to Salvador Cabrales and the crew at Astilleros Cabrales. A great job and a wonderful experience! We have been and will continue to recommend you and your team to other cruisers.
Cheers!
Captain Dan
SV Dazzler


I am very happy you had a great experience with Sal. I am delighted that giving you a glowing reference worked out. Great story, I love the detail you put into your article!
Hope to see you on the flip side!
Thanks, looking forward to see you two also. Safe travels! Cheers!
Would you be willing to share a breakdown of the costs…? Thanks, Tom
Certainly. Let me pull out the invoice and I’ll get back to you.
Hi Tom,
First off, I apologize for taking a while to get back to you on your question. Busy on lots of projects getting ready for crossing to South Pacific.
I made the decision to use the Puerto Penasco facility based on recommendations from other cruisers that had used and or planned to use that facility. There is a huge tide swing in Puerto Penasco so be prepared for that. Salvador was great to work with. The cost for the labor for our haulout and yard labor including some material for Dazzler was about $1700 USD. We brought our own bottom paint from San Diego. If you bring your own paint you will want to take it to the local paint store to have it shaken to get the copperous oxide sufficiently mixed into the paint.
I hope that helps out with your request.
Captain Dan